Why Overthink It? Start Painting with a Minimal Palette
If you’re tired of scrolling through endless theory and shopping lists before ever touching a canvas — good. You’re in the right place. This post is about starting to paint fast, using tools that actually matter, and a minimal palette painting technique that lets you do more with less.
Why Acrylics Are Perfect for Minimal Palette Painting
I use acrylics because they’re easy, affordable, and mess-proof. You can thin them with water, clean your brushes in seconds, and they dry fast so you’re not waiting around watching paint dry. If you’re new to painting, acrylics are the best “just get going” option.
The Minimal Palette I Actually Use
This is the core of the method: we’re working with a tight but powerful color set. Forget red, yellow, and blue. Here’s what I use in the studio:
Heads up: I use the Amsterdam brand for these colors. If you’re using any of the links above, double-check you’re picking that one — Amazon sometimes shows multiple sellers and brands on the same page.
Those six will get you really far. If you want to add a punchier orangy red that’s hard to mix with this palette, I also sometimes throw in a tube of Vermillion.
With just these six colors, you can mix pretty much everything you need. It simplifies your choices, saves money, and forces you to actually learn color mixing instead of depending on 38 tubes of premixed fluff.
What You Actually Need
You don’t need a full art supply store. Here’s the bare minimum to get started:
- Brushes: One large flat, one small flat, one large round, one small round – all for acrylics.
- Surface: Canvas is ideal to start with. Go for stretched or canvas boards.
- Palette: A plastic or wood one works, but here’s a hack: tape baking paper to a flat surface. Disposable and cheap.
- Something to wipe your brushes with: an old t-shirt, a rag, paper towels — whatever you’ve got lying around.
- Water container: For rinsing your brushes. No, your coffee mug is not a good idea.
- Easel: A small table easel works for smaller canvasses. If you’re going big, get yourself a full-size standing easel.
- Palette knife: You can mix paint with your brushes, sure, but it wastes pigment and beats up your bristles over time. A knife is faster, cleaner, and just feels better to use.
Curious what I personally use? I listed all my go-to supplies, including paint, brushes, and surfaces, my go-to supply list at the end of this post.
Bonus Tip: Keep Your Acrylic Paint Fresh for Days
Acrylic paint dries fast — sometimes too fast. If you’ve ever come back to a palette and found everything dried up and useless, here’s a fix that actually works.
Take a shallow tray and lay a damp, absorbent sponge wipe inside. Place a sheet of baking paper or parchment paper over the cloth — that’s your mixing surface. Now add your paints and mix on top of the paper like normal.
When you’re done for the day, cover the tray with an airtight lid or even plastic wrap. The moisture underneath will keep the paint usable for days, sometimes longer. It’s basically a DIY stay-wet palette — cheap, simple, and it saves a ton of wasted paint.
Final Word
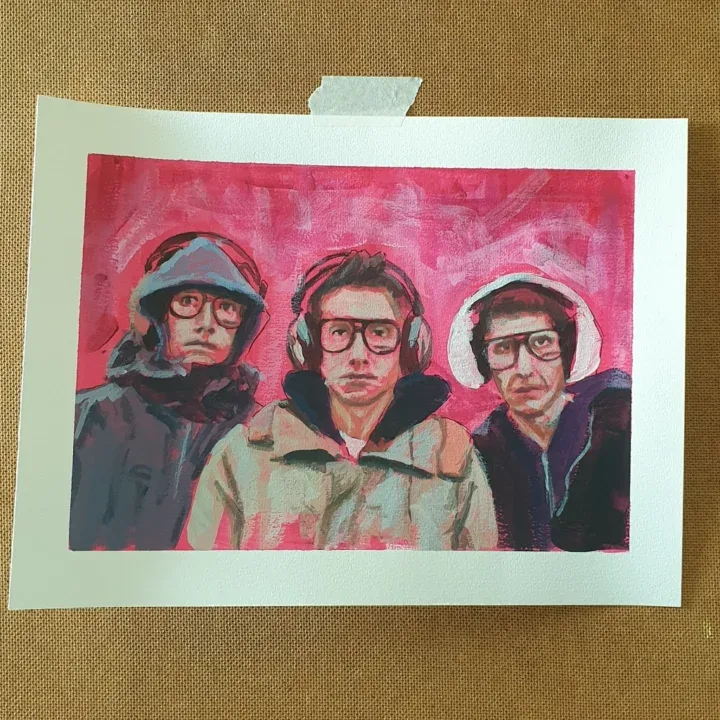
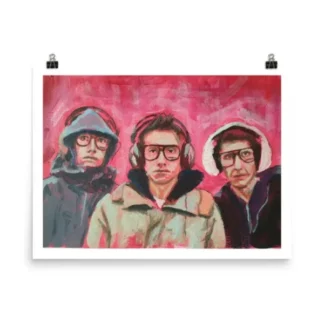
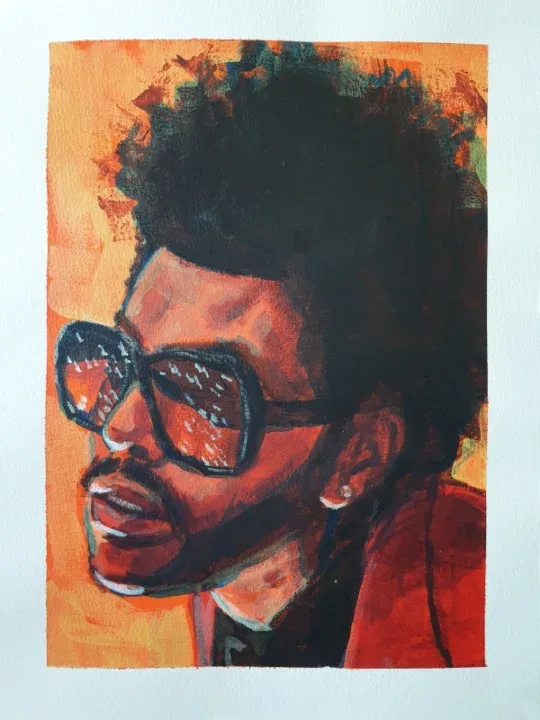
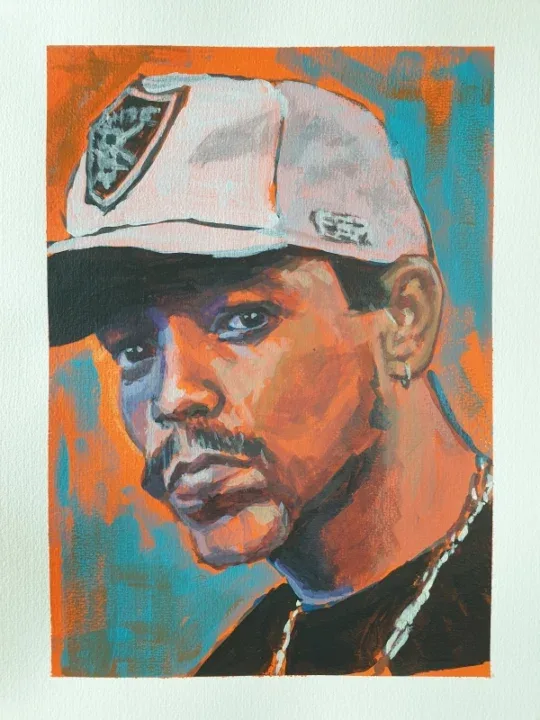
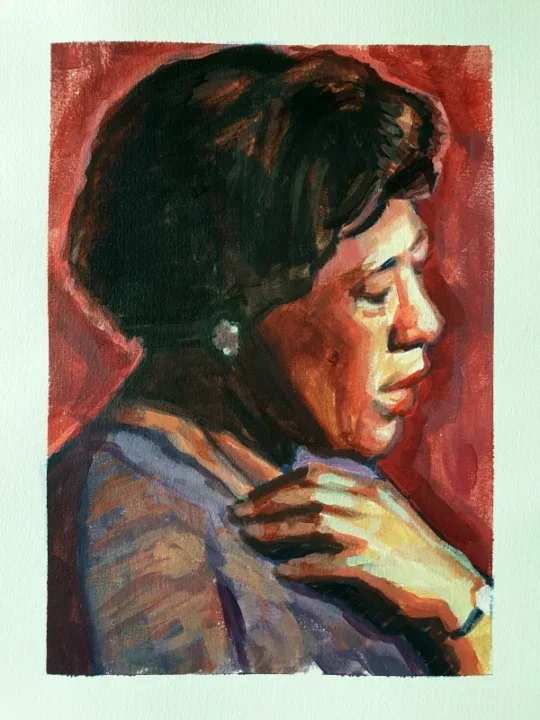
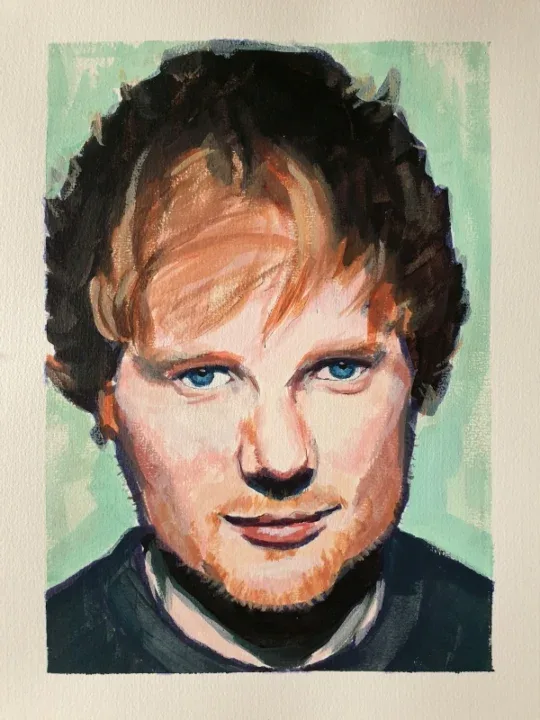
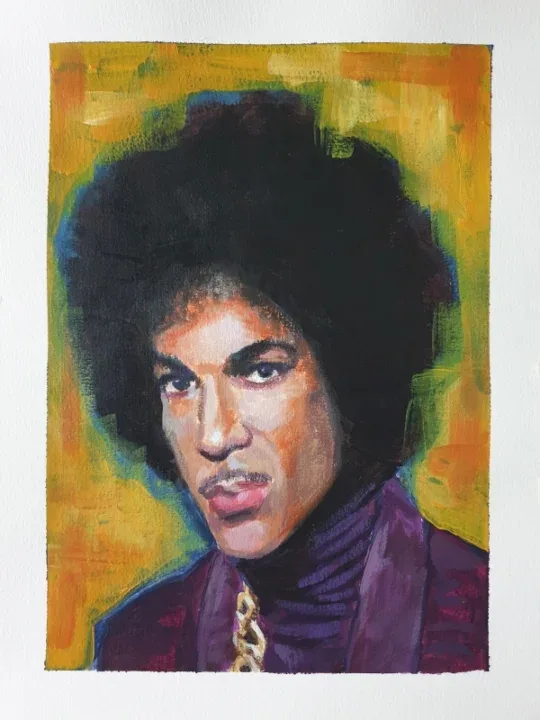
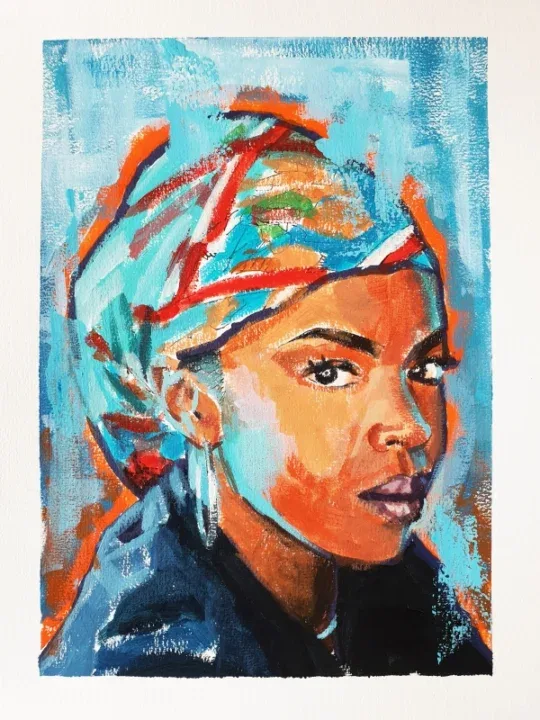
This isn’t about painting the “right way.” It’s about actually painting. A minimal palette gives you fewer choices, more freedom, and faster progress. Grab your gear and go make something. Skip the theory rabbit holes. You’ll learn more by doing anyway.
Want to see what this minimal palette can actually do? I’ve used this exact setup in tons of speed painting techniques—portraits, time-lapses, and fast acrylic work that keeps it simple and bold. Check them out here.